
Databaseをmariadb(3:10.5.27-1)に変更したので、設定が必要になる。databaseなどを作っていく
[fuji@rails8 TourData]$ sudo mysql
前略
MariaDB [(none)]> grant all privileges on tour_data_development.* to yyyyyyy@localhost identified by “xxxxxxxx”;
Query OK, 0 rows affected (0.001 sec)
MariaDB [(none)]> grant all privileges on tour_data_test.* to yyyyyyy@localhost identified by “xxxxxxxxx”;
Query OK, 0 rows affected (0.002 sec)
MariaDB [(none)]> flush privileges;
Query OK, 0 rows affected (0.000 sec)
MariaDB [(none)]> create database tour_data_development;
Query OK, 1 row affected (0.000 sec)
MariaDB [(none)]> create database tour_data_test;
Query OK, 1 row affected (0.000 sec)
ここで、これから作るrailsアプリを作る,データーベースはmysqlにするが、アプリを置く領域を作ってあるのでそこに移動(30Gibある)
[fuji@rails8 ~]$ cd /rails
[fuji@rails8 Rails]$ rails new TourData -d mysql
create
create README.md
create Rakefile
create .ruby-version
create config.ru
create .gitignore
create .gitattributes
後略
[fuji@rails8 ~]$ cd TourData
次に設定ファイルの変更
[fuji@rails8 TourData]$ gedit config/database.yml
default: &default
adapter: mysql2
encoding: utf8mb4
pool: <%= ENV.fetch(“RAILS_MAX_THREADS”) { 5 } %>
username: yyyyyyy ← ここを設定したユーザーに
password: xxxxxxx ここを設定したパスワードに
socket: /var/lib/mysql/mysql.sock
development:
<<: *default
database: tour_data_development
Gemファイル記載されたパッケージ群の相互依存関係を調べるため
[fuji@rails8 TourData]$ bundle
Bundle complete! 21 Gemfile dependencies, 119 gems now installed.
Use `bundle info [gemname]` to see where a bundled gem is installed.
1 installed gem you directly depend on is looking for funding.
Run `bundle fund` for details
で新規に端末を開いてWEBサーバーを立ち上げるが、この端末はずーっと、サーバーが使用するので、今後のために別の端末を立ち上げそこでサ行をする
[fuji@rails8 TourData]$ rails s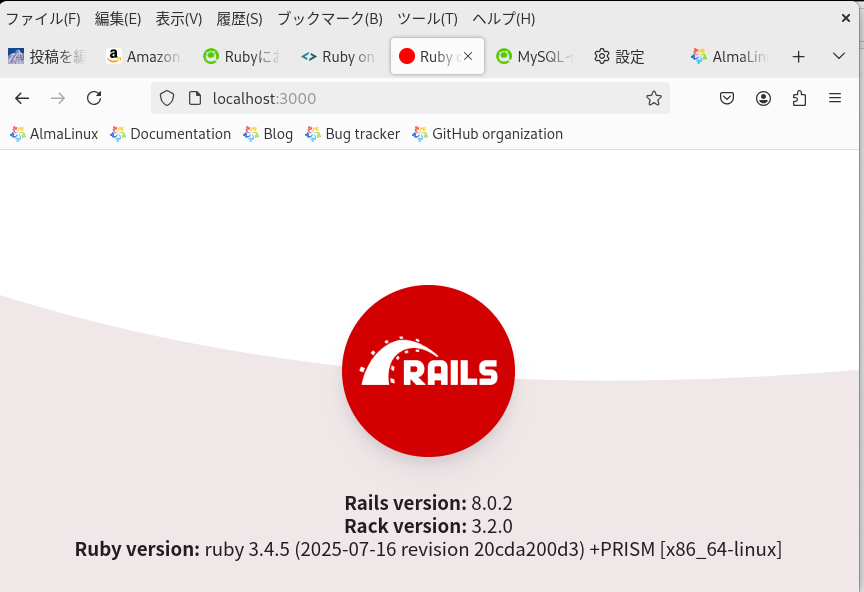
ブラウザでlocalhost:3000にアクセスして、上に画面が出れば正常です。
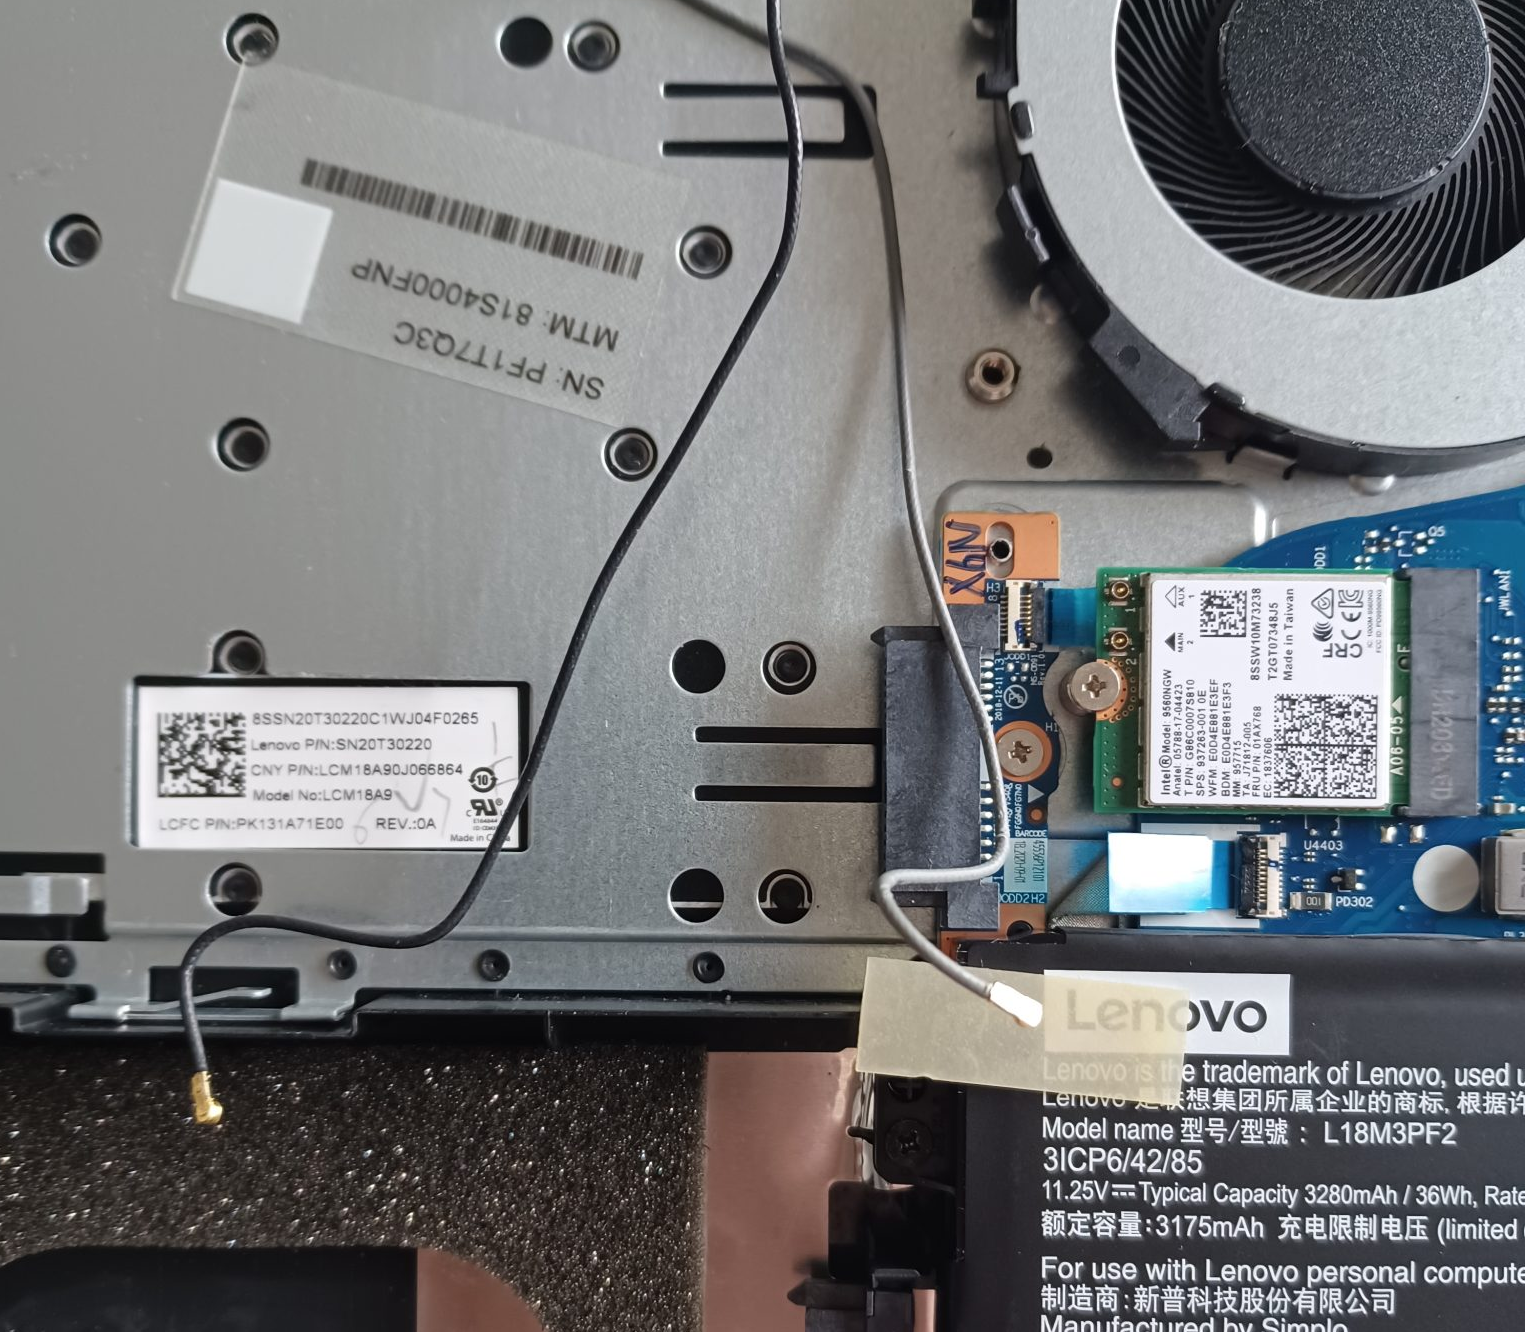 ほとんどのノートPCはWifiのアンテナがディスプレーの方に行っているので、それも外す
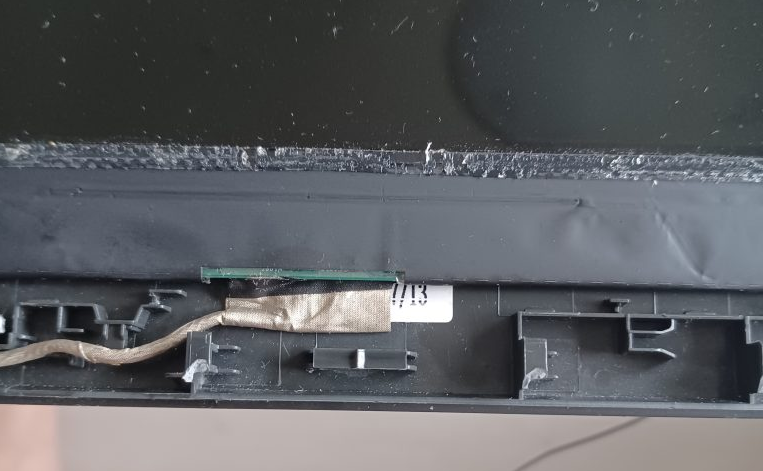
 ディスプレーの裏側、コネクターをはずしてある。
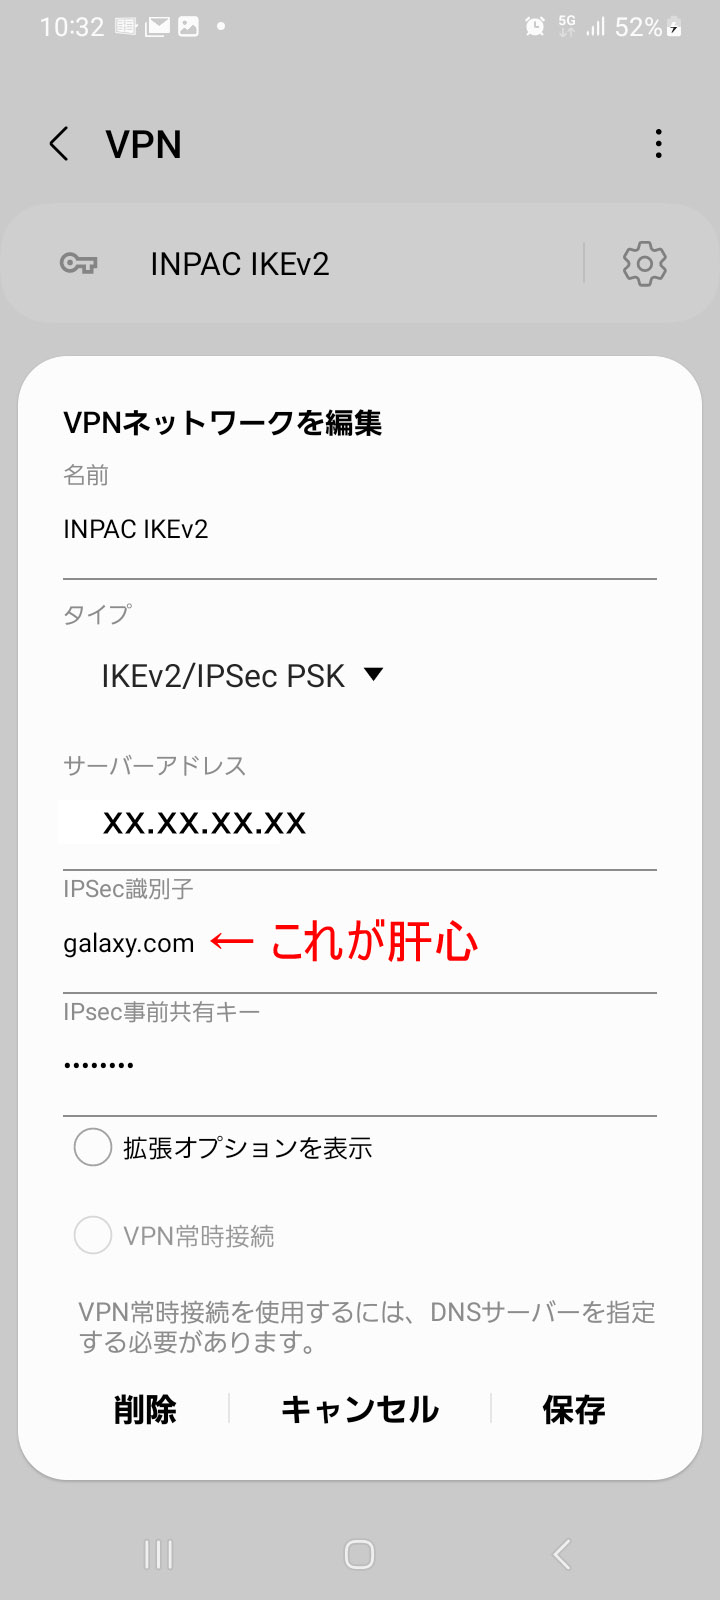 初めにIPSec識別子の設定が間違えており、接続に失敗していたので、ルーターに設定している、remote name 11 (11はトンネルの番号)の後にある galaxy.com を設定したらあっさり接続が出来た。